

Cafe smile · window light
Try this photoReduce warm tooth tones while keeping the moustache, mustard knit and soft window light.
Whiten teeth in a photo with AI. Reduce yellow tones while keeping your original smile, tooth shapes and lighting. Upload a portrait and add instructions if needed.
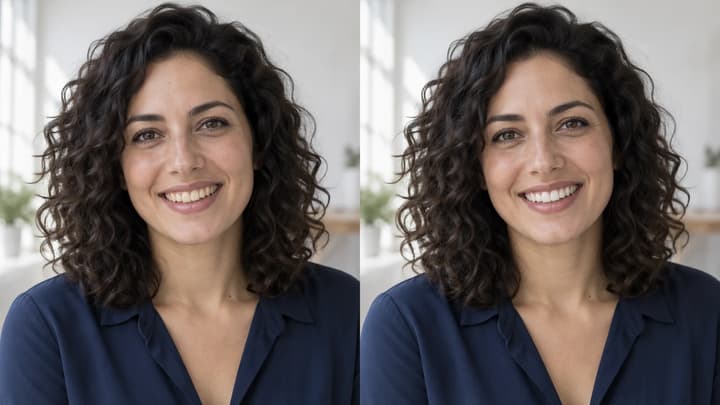
An office portrait shows a modest tooth-color adjustment. Keep the person, glasses and expression consistent with the original.
A restaurant portrait illustrates less yellow teeth under amber light. Whitening should not cool the skin, clothes or whole background.
A reading-nook portrait keeps individual tooth edges, small gaps and shadows visible. Brighter teeth should still have texture.
A plaza portrait illustrates whitening for one person. Name the target by position or clothing in Edit instructions and check the other smile.
Reduce warm tooth tones while keeping the moustache, mustard knit and soft window light.
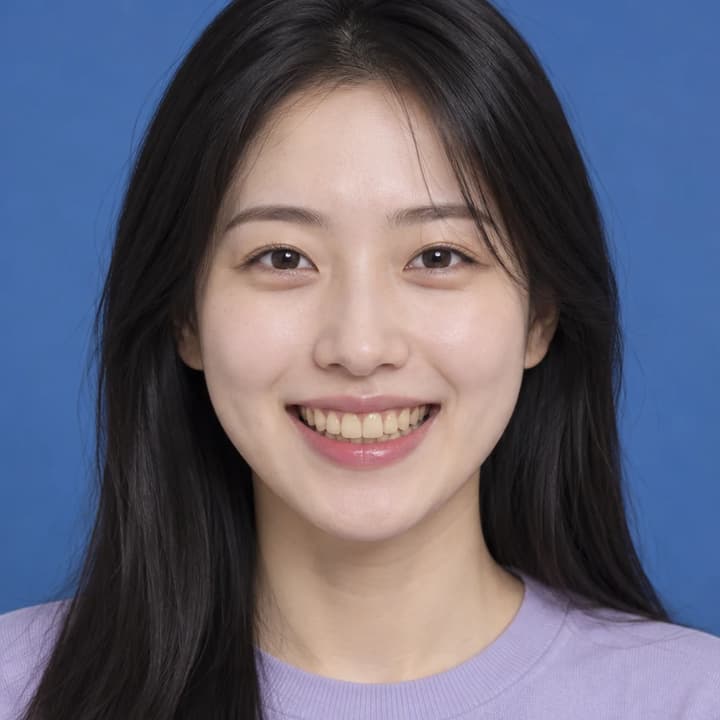
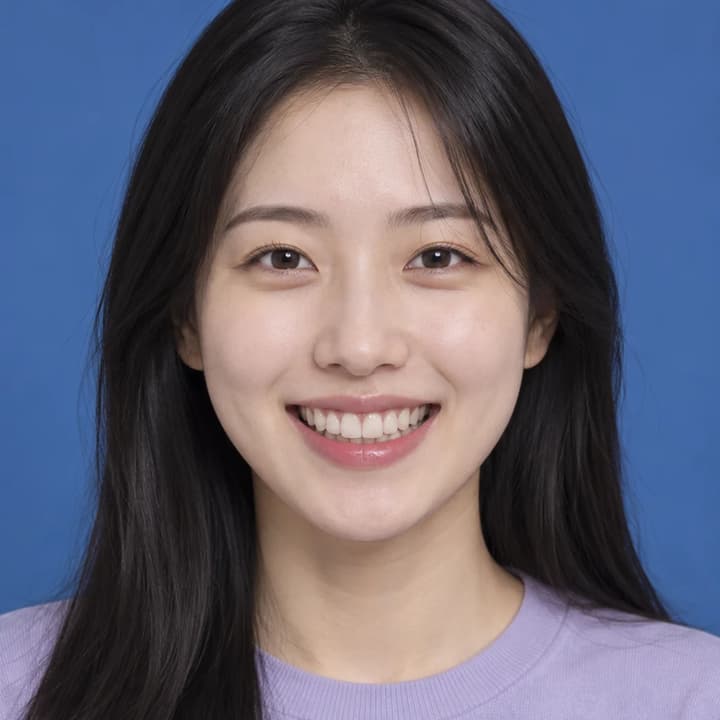
Keep the same smile and lavender shirt against a cobalt backdrop.
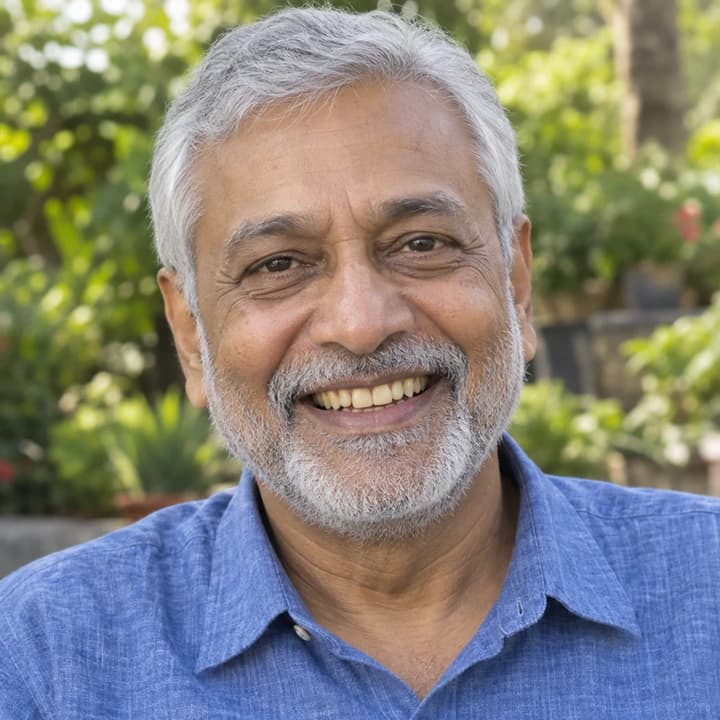
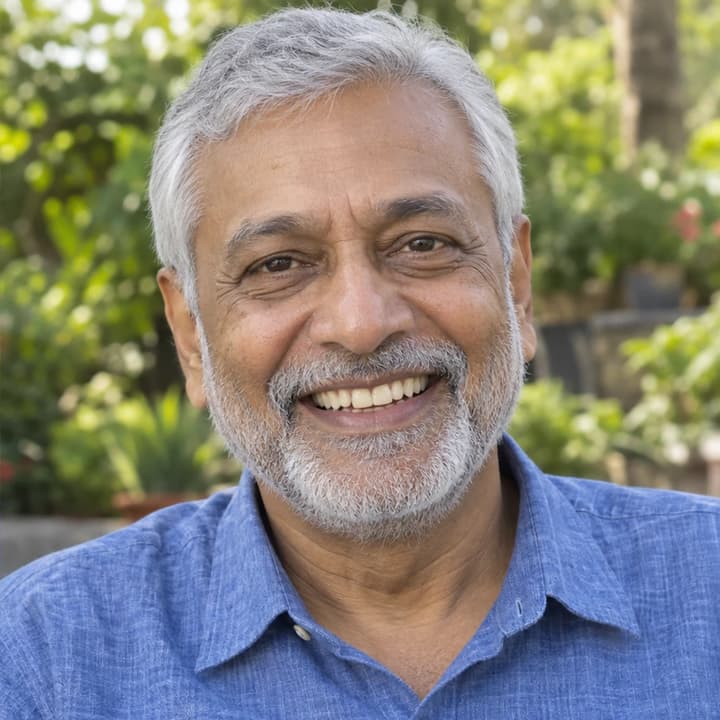
Retain the silver hair, beard and tooth contours in an outdoor portrait.
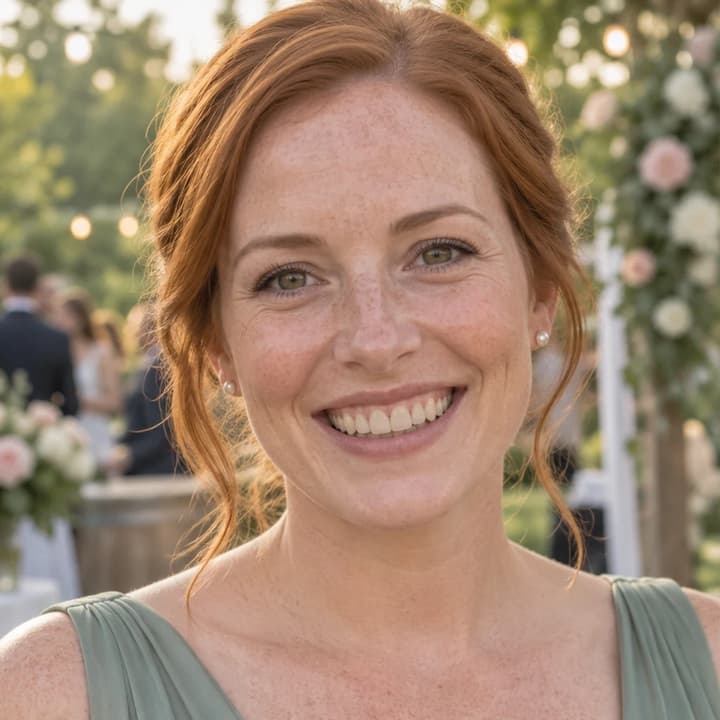
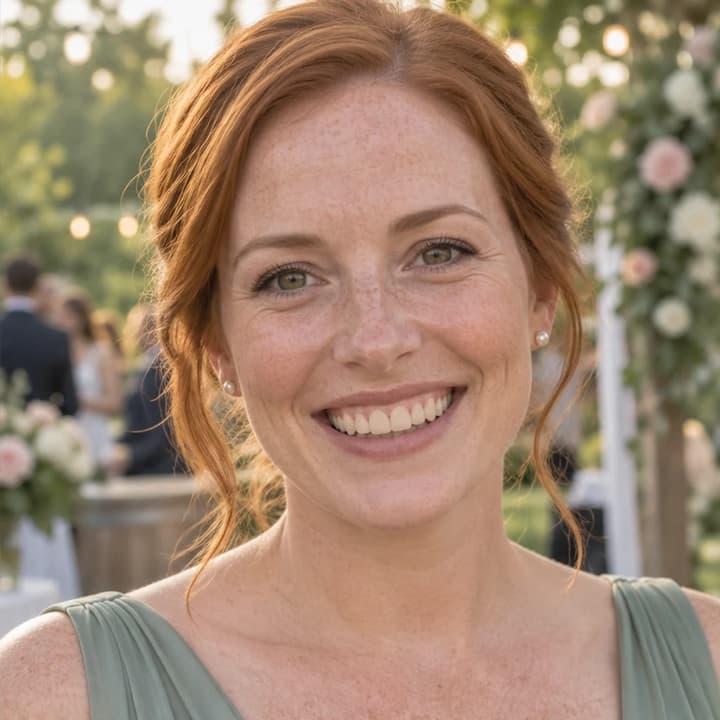
Apply subtle whitening without smoothing freckles or changing the wedding setting.


Preserve the windblown hair, yellow jacket and cool coastal light.


Keep the original tooth spacing, glasses and warm reading-room atmosphere.


Retain the turned face, headscarf and mouth opening while reducing yellow tones.
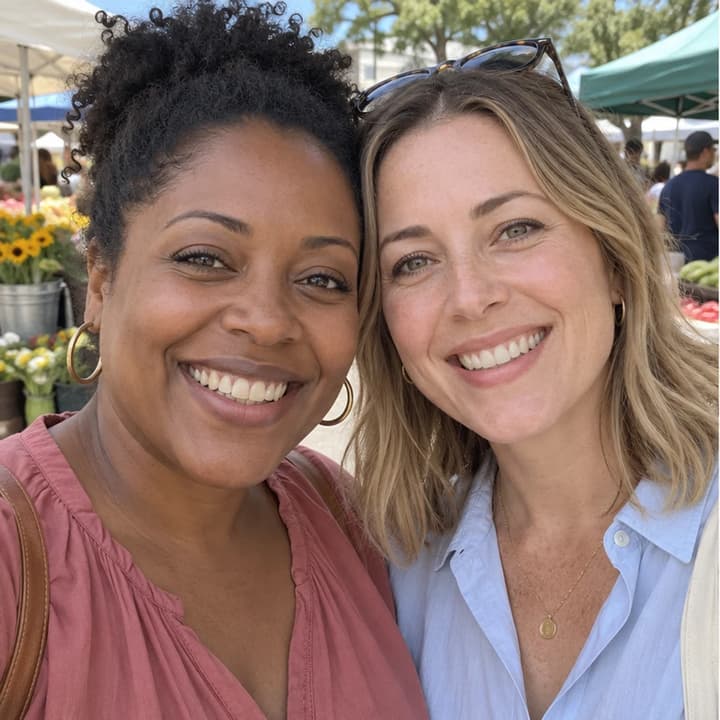
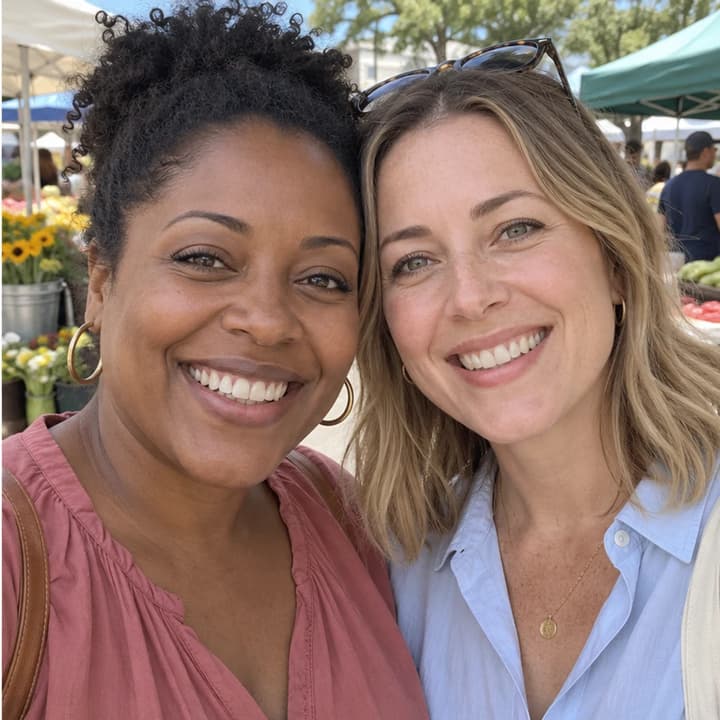
Whiten only the person on the left wearing a rose blouse; leave the friend's teeth unchanged.
Upload a clear photo with visible teeth.
Use the default gentle whitening, or add an instruction for a subtler result.
Generate your image, compare it with the original, then download.
Check that tooth count, shapes, alignment and gaps still match the original.
Look for retained enamel detail and shadows between teeth rather than a flat white strip.
Compare mouth opening, lip corners and gum line. Whitening should not create a bigger smile.
Check skin tone, scene warmth and any other person's teeth for unintended changes.
Upload a clear photo with visible teeth. Leave Edit instructions blank for subtle whitening or describe the strength and target person. Generate, then compare the smile and tooth detail with the original.
Your Person photo is required. Edit instructions are optional, and no second image is needed for the default whitening.
The edit is instructed to adjust tooth color while retaining tooth shapes, gaps, alignment, lips and expression. It does not straighten teeth, add veneers or create a new smile. Review the result for unintended changes.
The default targets the most prominent person. For a specific person, name their position or clothing in Edit instructions, then check that other people's teeth stayed unchanged.
The tool is instructed to leave a closed mouth unchanged. Use another original with clearly visible teeth if the mouth is covered, tiny or blurred; whitening cannot reliably recover missing detail.
Yes. Write 'Gently reduce yellow tones; keep a natural ivory shade and the shadows between teeth.' Compare at the original size before downloading.
No. This is a digital photo edit, not a dental treatment or a prediction of treatment results.
No. It only fills the form with the source photo and instructions. Generation requires a LumiYing account and uses the credits shown before you generate.
Learn how to whiten teeth in photos without changing the smile. Choose a clear portrait, adjust tooth color and review edges, texture and lighting.
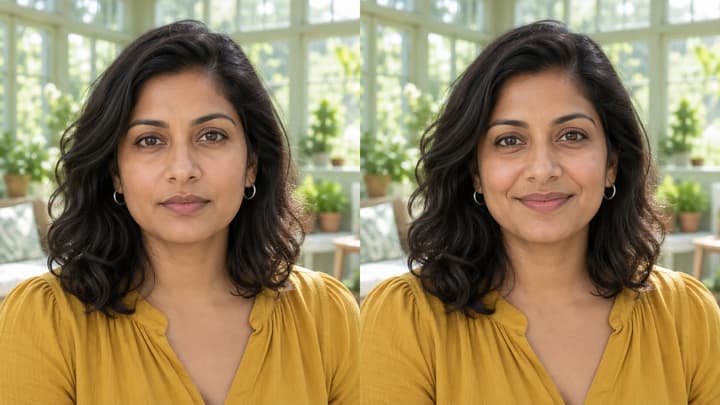
Edit facial expressions with AI. Choose a smile, reaction template or your own expression reference, then generate and review your portrait or character image.
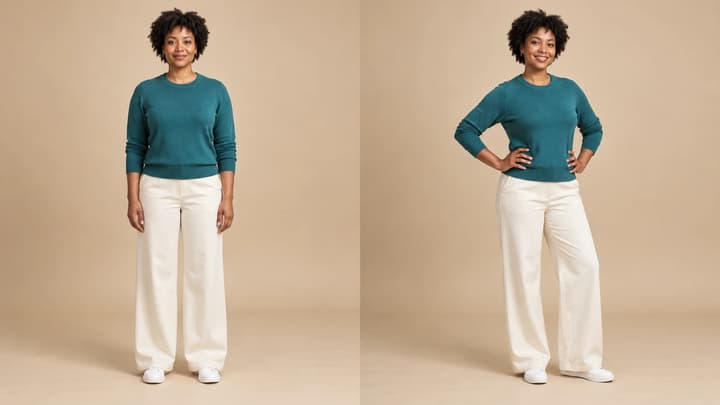
Change a person or character’s pose from a photo. Choose 8 pose templates or upload a pose reference, then generate and review the result.

Upload an image, describe the edit, and create polished visuals for products, social posts, posters, or keyframes.
Review credits and plans before generating.