

Warm portrait light
Relight a photoRight + Sunrise light: Look at the warm side of the face, the nose shadow and eye highlights. Keep the same facial features, hair and sweater; warmer light should not smooth or redesign the person.
To relight a photo with AI, upload your image, choose a light direction and lighting template, then generate and compare the result. This guide helps you make those choices for portraits, products, and interiors. Relighting aims to change where light falls and the mood of a scene; increasing brightness alone does not move the light source.
LumiYing TeamUpdated
For a small brightness or white-balance adjustment, a regular photo editor offers direct control without regenerating the scene. Choose relighting when you want new shadow and highlight placement or a different lighting atmosphere. Start with a sharp source whose face, product edges and important text are visible; clipped highlights and hidden detail are poor reference material.
Keep the original file for every comparison. Try Natural light while choosing a direction, then hold that direction fixed to compare styles. The sphere sets the next generation’s light direction; it does not show a live relit preview. Loading an example fills the source and suggested settings, and you decide when to generate.
Use a JPEG, PNG, or WebP up to 30 MB. Choose a photo with readable faces, edges, and surface details. A heavily clipped or very dark source gives you less detail to compare after the edit.
Drag the sphere or use its direction buttons or arrow keys. It settles on a supported direction when you release it; the source photo is not relit live. Start near the original window or key light to reduce conflicting shadows, and keep the style at Natural light for this comparison.
Start with Natural light to assess the direction. Try Sunrise light for a warmer mood, or Blue hour for a cooler one. Keep the direction fixed while comparing templates so you can tell which change you prefer.
Check the displayed credits and generate one image. Output dimensions are automatic. Compare the result with the original at full size, including crop, face or object shape, shadows and reflections. For another comparison, use the same original and change only direction or style. A new generation uses credits.
Direction controls where the light comes from. A lighting template sets its color and atmosphere. Choose the direction for the subject's shape, then the template for the mood.
Load an original photo with its suggested direction and style, then generate your own comparison.
Right + Sunrise light: Look at the warm side of the face, the nose shadow and eye highlights. Keep the same facial features, hair and sweater; warmer light should not smooth or redesign the person.
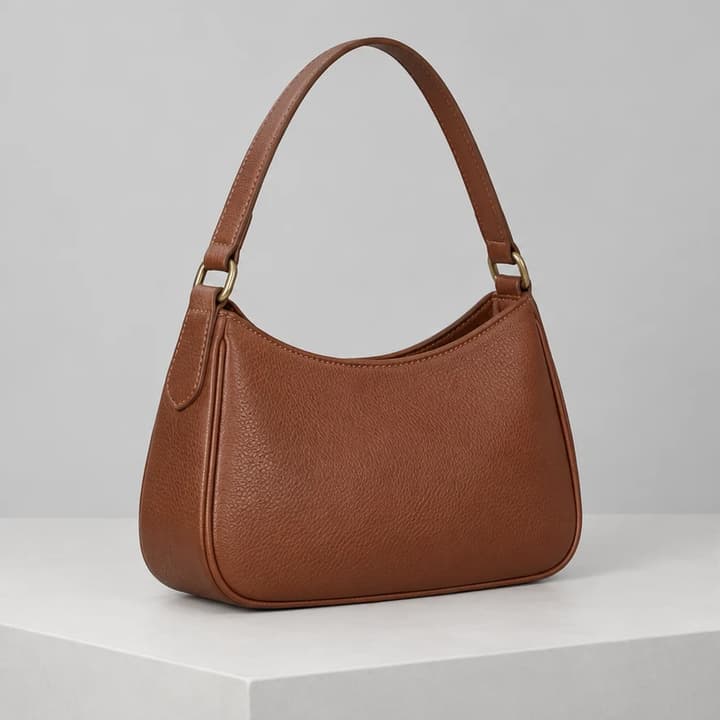
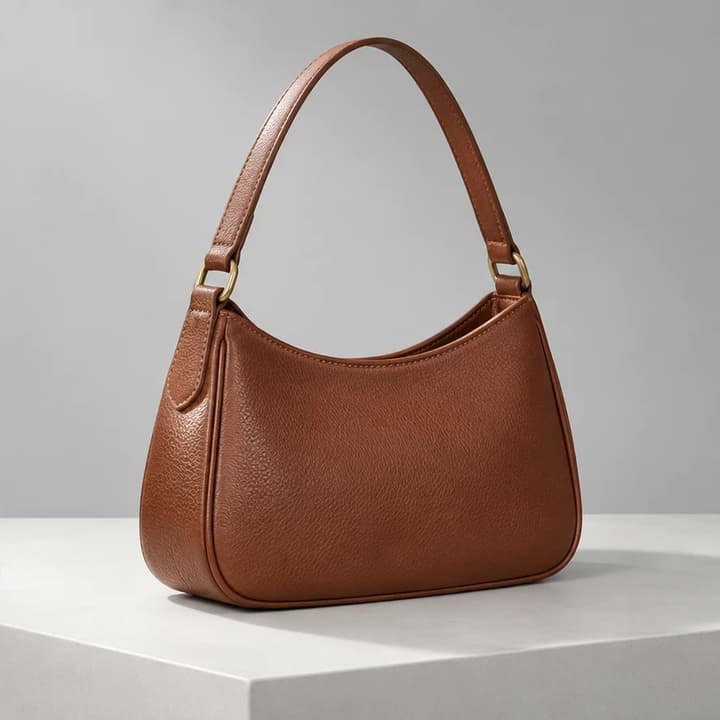
Top Left + Natural light: Use a neutral angled light to reveal leather grain and hardware. Compare the handle, seams and bag silhouette; highlights and the pedestal shadow should agree with one light direction.
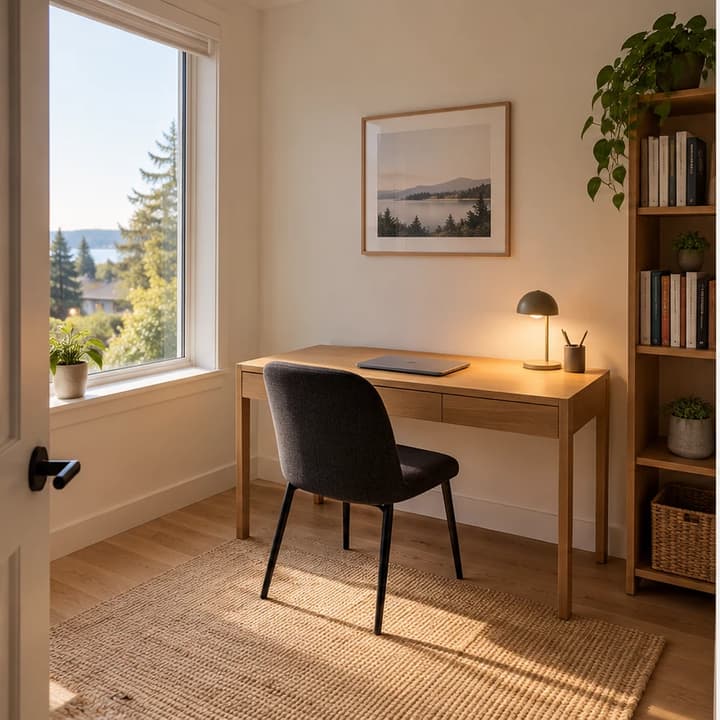
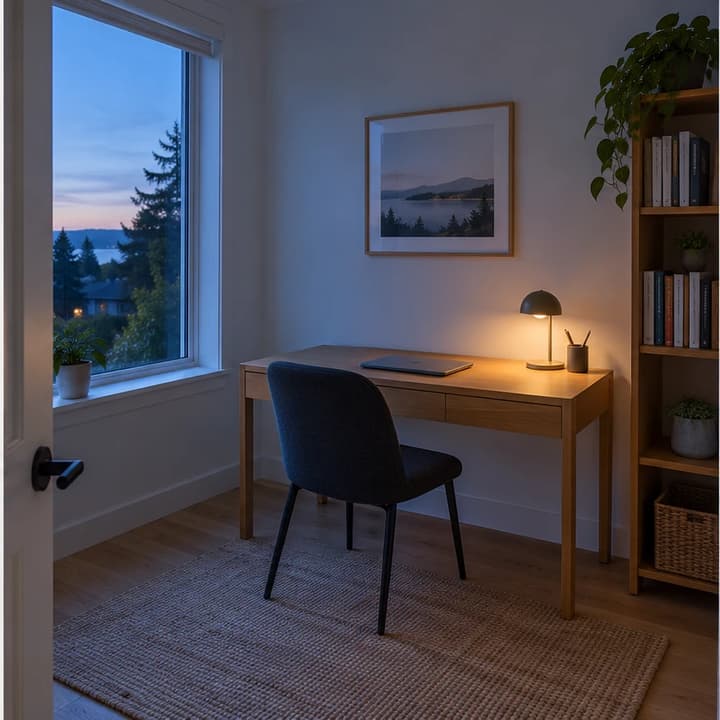
Left + Blue hour: Keep the light on the window side and compare a cooler atmosphere with the existing warm lamp. Check the desk, chair, bookcase and window geometry before judging the mood.
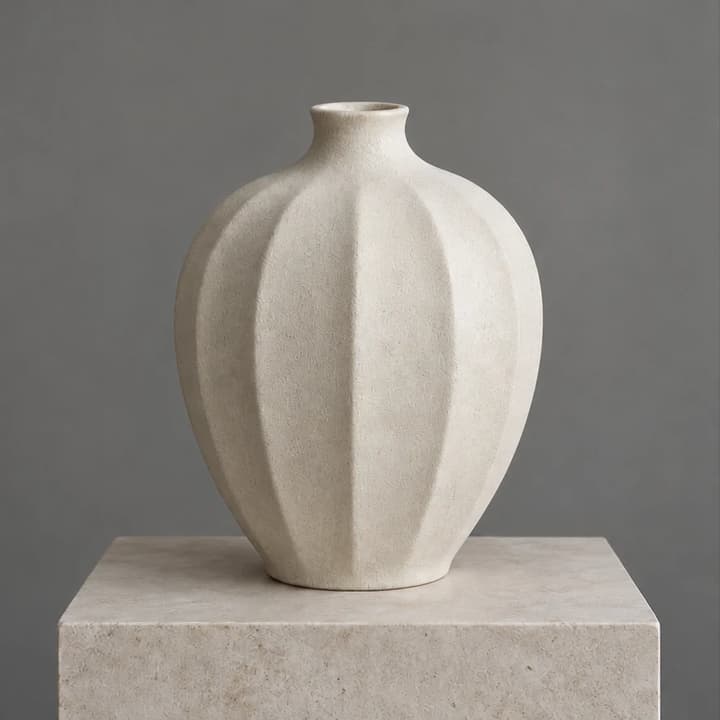
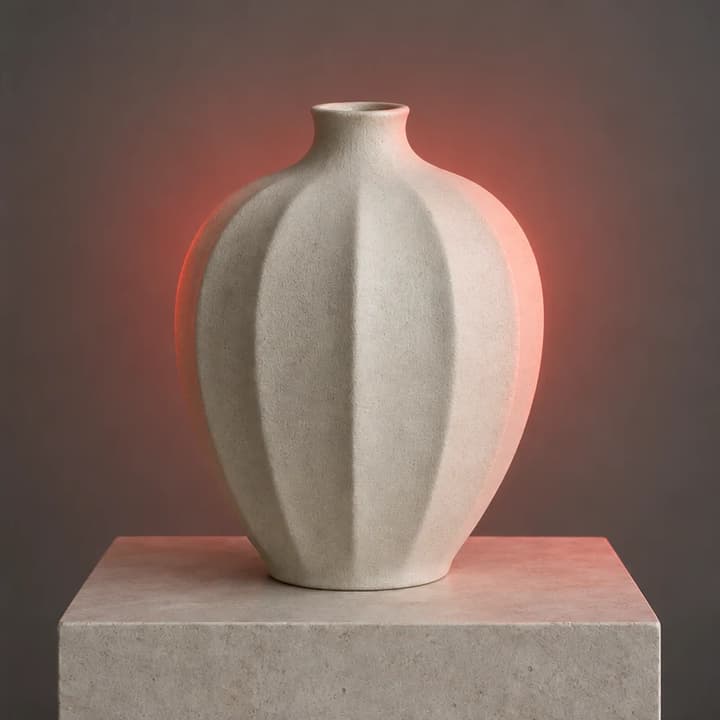
Rear + Cinematic red: Compare colored backlight around the vase with its neutral front detail. Inspect the opening, flutes and stone plinth; red illumination should not become a painted outline or change the ceramic shape.
Choose a direction that fits the scene, then a lighting template. Generate and check how the shadows and highlights changed. For a first attempt, use Natural light and change the direction before comparing other templates.
Decide whether you want a brighter image or a different light source. For relighting, adjust direction and template separately. For a small brightness correction, a regular photo editor may be enough.
No. Brightness adjustments change how light or dark the image appears. Relighting aims to change the apparent source direction, shadows, highlights, and lighting atmosphere.
Start with Natural light for a neutral comparison. Once the direction works, try a warmer, cooler, or colored template. Keep the source and direction unchanged while comparing.
Yes, generated edits can alter details. Compare identity, shape, material, color, and composition with the source. Keep only results that meet your needs.
It can attempt to preserve them, but small lettering may change. Check every label and logo at full size; reject any result that changes important text.
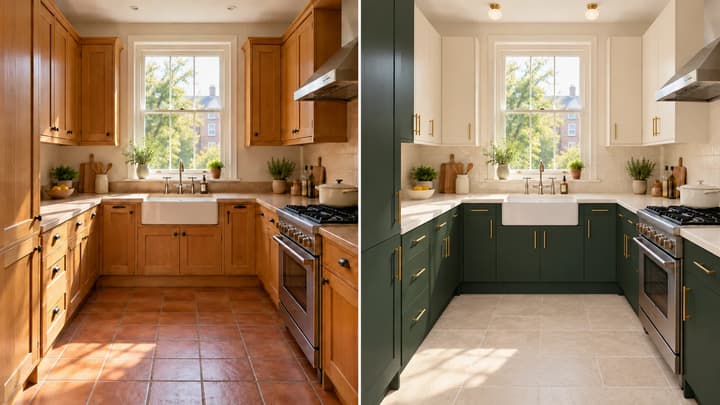
Learn to restyle a kitchen photo: coordinate cabinets, walls, flooring and lighting, preserve the layout, and compare concepts before choosing materials.
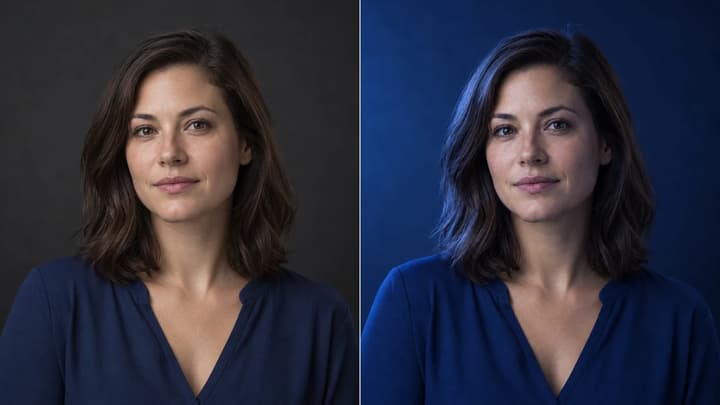
Use the direction control and lighting templates on your own photo.
Create original images from a text prompt or optional reference image. Adjust the aspect ratio and resolution to bring your creative vision to life.
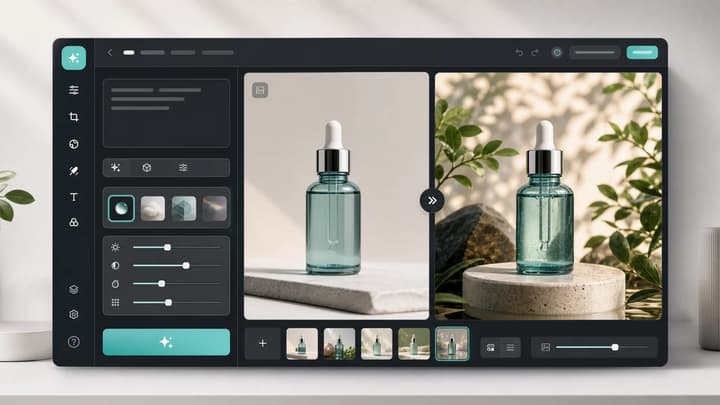
Use the image editor for changes beyond lighting.
Review credits and plans before generating.